

How To Repair Outdoor Stairs

Introduction
This guide will walk you through removing sometime or deteriorated treads and risers from a gear up of stairs. It will also teach you how to bring your stairs dorsum to life by replacing them with new weather treated wood pieces. There are but eleven required steps to this guide which makes it not simply price effective just besides time efficient. This ready will let you to exist a part of a community that fixes things instead of contributing to our throwaway economic system and causing havoc on our environment. It is important to focus on safety throughout this fix because there will exist power tools and transmission labor involved.
Parts
No parts specified.
-
-
Use a pry bar to remove the pre-existing damaged woods pieces.
-
Start with the riser get-go.
-
-
-
Use a pry bar to remove the pre-existing damaged forest pieces.
-
Remove the treads on the stairs.
-
-
-
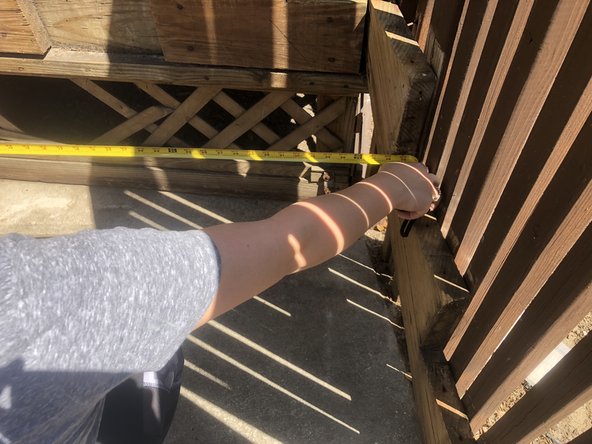
Use a measuring tape to measure the foundation where the new steps will exist placed.
-
-
-
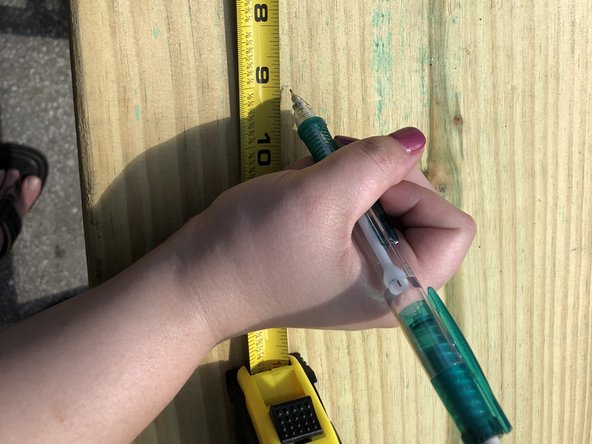
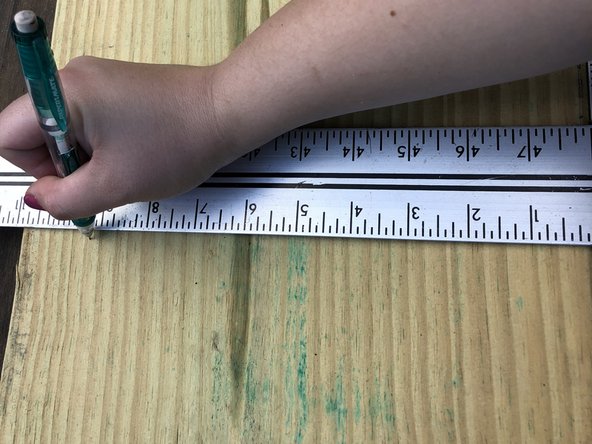
Mark your measurements on both ends of your new weather treated wood using a measuring tape and a pencil.
-
-
-
Place the new piece of woods onto the cease of a sturdy table.
-
-
-
Use a round saw to cut across the directly line marked on the new slice of wood.
-
-
-
Place the new slice of forest (riser) on the steps to ensure that it fits.
-
Use a leveler to make sure that it is level.
-
-
-
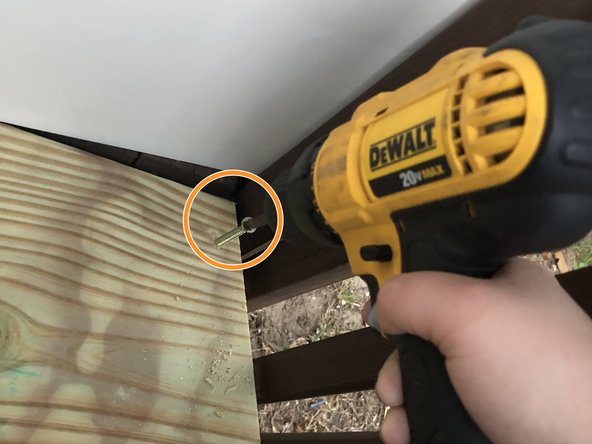
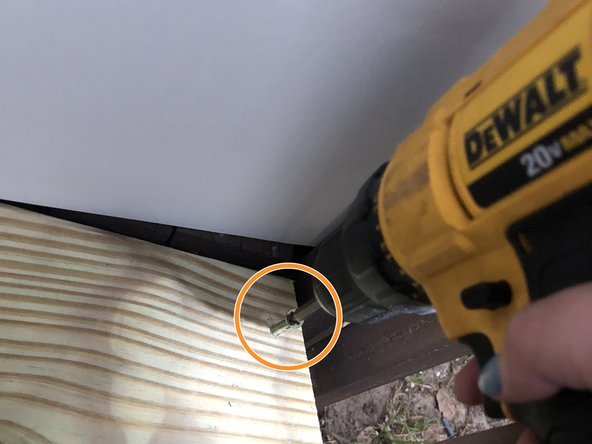
Secure your wood piece (riser) into place using a drill and galvanized screws.
-
Create two airplane pilot holes with the right drill bit.
-
Secure the wood (riser) into place by drilling ii" galvanized Phillips head screws into the pilot holes.
-
-
-
Make certain your wood piece (tread) fits into place and is level.
-
-
-
Secure your wood piece (tread) into identify using a drill and galvanized screws.
-
Create 3 pilot holes with the correct drill chip.
-
Secure the wood (tread) into identify by drilling 2" galvanized Phillips caput screws into the pilot holes.
-
-
-
Echo steps 8-ten for the remaining stairs.
-


Nigh done!
To reassemble your former stairs, follow these instructions in reverse society.
Conclusion
To reassemble your former stairs, follow these instructions in reverse social club.
Team

0 Comments

How To Repair Outdoor Stairs,
Source: https://www.ifixit.com/Guide/How+to+Fix+Broken+Porch+Entry+Stairs/104025
Posted by: longtraccivo.blogspot.com
0 Response to "How To Repair Outdoor Stairs"
Post a Comment